
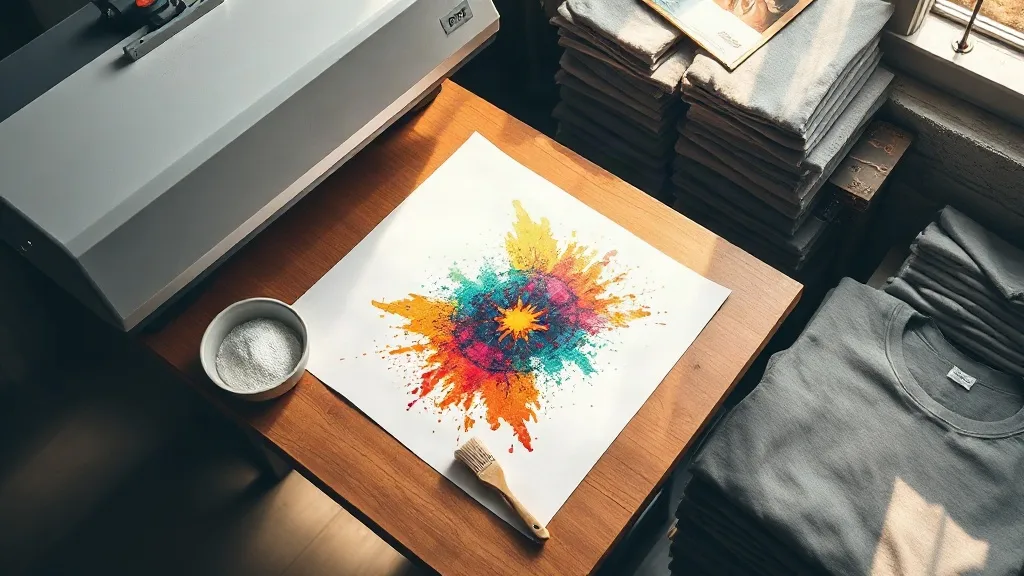
If you run a small print operation, you already know the appeal of dtf transfers: no weeding, no color limits, and the ability to press a full-color design onto a cotton tee in under a minute. But the gap between a decent DTF print and a great one usually comes down to a handful of habits that rarely get written down. This guide covers what actually matters on the shop floor, drawn from the kinds of problems that show up again and again when a press is running hot and orders are stacking up.
What DTF Really Is, Stripped of the Marketing
Direct-to-film printing works by printing a mirror-image design onto a PET film with water-based pigment inks, then applying a hot-melt adhesive powder while the ink is still wet. The powder sticks to the ink, the excess gets shaken off, and the film is cured. What you end up with is a thin, flexible transfer that gets pressed onto fabric at temperature. The adhesive melts into the weave, the ink layer sits on top, and once the film cools and peels away, the design is bonded.
That sequence matters because it explains nearly every failure mode. If the powder doesn't cure fully, the design cracks. If the press is too cool, the adhesive never reaches its melt point. If the peel happens too early, you pull half the ink off with the film. DTF is forgiving in terms of fabric, but it is not forgiving in terms of process discipline.
Why It Works on So Many Fabrics
Unlike plastisol, which needs a cotton-heavy surface to grip, DTF adhesive bonds mechanically to a wide range of materials. Cotton, poly blends, canvas, and even some nylons hold up well. That flexibility is the main reason small shops adopt dtf in the first place: one process covers most of the order book, so you stop stocking three different product lines for three different garment types.
It is not universal, though. Coated nylon and heavily water-repellent fabrics can reject the adhesive, and stretchy performance wear needs a lower press temperature with a longer dwell to avoid scorching. Test on scrap before you commit a customer's order.
Film Handling: The Part Everyone Skips
Film is where quality quietly degrades. A roll left in a humid corner absorbs moisture, and moisture is the enemy of a clean powder application. Damp film causes the powder to clump, which produces a grainy, speckled surface that no amount of pressing will fix.
A few habits make a real difference:
- Store film sealed and flat, away from direct sunlight and temperature swings.
- Print only what you will powder within a reasonable window; wet ink that sits too long takes powder unevenly.
- Keep a small dehumidifier or silica packs in the storage area if your shop runs humid in summer.
- Check the film's printable side before loading. Printing on the wrong side produces a design that looks fine on film and falls apart on press.
The powder step deserves its own attention. Shake the film gently after powdering so excess adhesive falls away evenly, and cure according to your powder's spec sheet rather than guessing. Over-curing makes the transfer stiff and prone to cracking at the edges; under-curing leaves it tacky and short-lived in the wash.
Press Settings That Actually Hold Up
Every shop eventually develops its own numbers, but the starting point is consistent: roughly 150 to 160 degrees Celsius, medium pressure, and a dwell of 10 to 15 seconds for the transfer press. Peel warm or cold depending on your film and powder combination, and always press a second time with a cover sheet for a few seconds to lock the edges.
Two things trip people up. First, pressure. Too little pressure and the adhesive never fully contacts the weave, so the design lifts at the corners after a few washes. Too much pressure and the ink layer flattens into the fabric, which looks dull and feels rough. Second, the cover sheet. Skipping it is the single most common cause of a transfer that peels from the edge inward.
Garment Prep Before the Press
Pre-press the garment for three to five seconds to drive off moisture. This is especially important with cotton tees straight out of a poly bag, which often carry enough humidity to interfere with adhesion. If you skip this step, you may find the transfer looks perfect on day one and starts lifting by the third wash.
Also watch seams, zippers, and thick collars. Build up a pressing pad underneath so the transfer sits level, otherwise the design will bond unevenly across a raised area.
Choosing Between Local Pickup and Shipped Transfers
Turnaround is often the deciding factor for shops juggling tight deadlines. When a client needs fifty shirts by Friday, searching for dtf transfers near me is a reasonable instinct, and local pickup can genuinely save a day. But local availability is not the same as consistent quality, and it is worth asking how fresh the film is and whether the supplier cures to a documented spec.
Shipped transfers from a supplier with a solid process often beat a local option that runs inconsistent heat. The practical move is to order a small test batch first, press it exactly as you would for a customer, and wash it three times. Whatever survives that is your supplier.
Common Failures and What They Tell You
Most DTF problems announce their cause clearly if you know what to look for.
- Cracking after washing: under-cured powder or too little pressure during transfer.
- Peeling from the edges: no cover sheet, or the garment was not pre-pressed.
- Grainy, speckled surface: damp film or uneven powder application.
- Dull, flat colors: excessive pressure or too high a temperature.
- Sticky feel after pressing: powder not fully cured before the transfer step.
Keep a notebook of settings per garment type. After a few months you will have a reference that saves far more time than any generic chart, because it reflects your press, your powder, and your climate.
Where DTF Fits in a Small Shop's Workflow
The strongest argument for adding DTF is not that it replaces screen printing. It does not, at volume. The argument is that it removes the setup cost that makes small, colorful, multi-design orders unprofitable. Twenty shirts with twenty different designs is a nightmare on a screen press and routine on DTF. That changes what jobs you can quote confidently.
Pair it with a simple order intake process: collect artwork at print resolution, confirm garment type, and note any fabric that needs a test press. Most DTF complaints trace back to an artwork file that was too low-resolution or a garment that was never tested, not to the transfer itself.
Frequently Asked Questions
How many washes should a DTF transfer survive?
A properly cured and pressed transfer on a compatible fabric typically holds up for 30 to 50 home washes when turned inside out and washed cold. Longevity depends heavily on powder cure quality, press pressure, and whether the garment was pre-pressed before transfer.
Can I press DTF onto 100 percent polyester?
Yes, but with adjustments. Polyester is heat-sensitive, so lower the press temperature and extend the dwell slightly. Use a cover sheet and avoid direct high heat, which can leave a shiny mark or scorch the fabric around the design.
Do I need a special press for DTF transfers?
A standard heat press works as long as it holds consistent temperature and pressure across the platen. What matters more than the brand is calibration: verify your press's actual temperature with an external probe, because dial readings drift over time.
Why did my transfer peel off after the first wash?
The most likely causes are insufficient pressure during transfer, no second press with a cover sheet, or a garment that was not pre-pressed to remove moisture. Check those three before blaming the film or the powder.
Is DTF cheaper than screen printing for small orders?
For runs under roughly two dozen pieces, especially with multiple colors or varied designs, DTF almost always wins on total cost because there is no screen setup. Above that volume, screen printing typically becomes more economical per unit.