
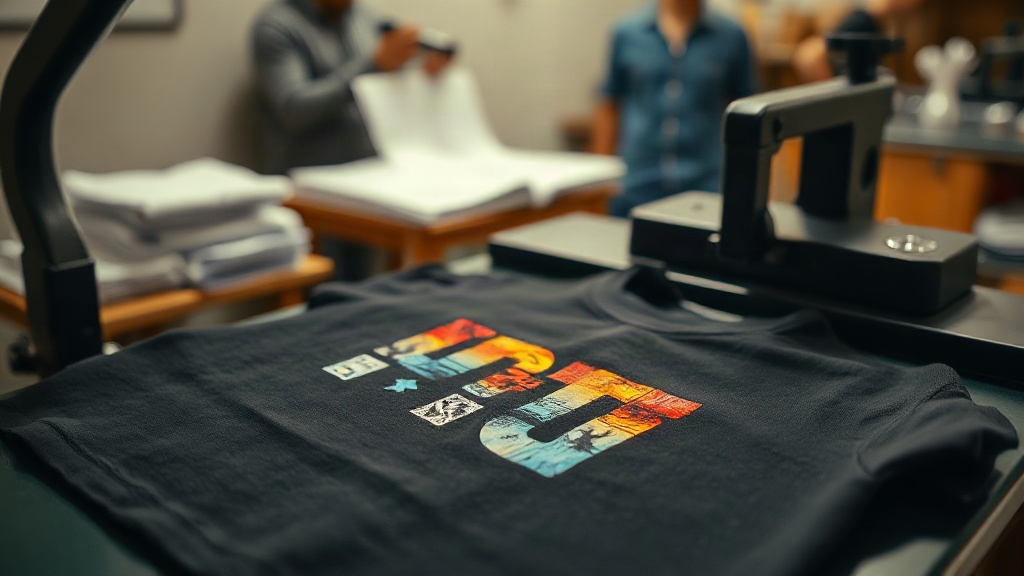
Most people who try DTF Transfers for the first time run into the same wall: the print looks great coming off the printer, then something goes wrong at press time. The image cracks after a few washes, the edges lift, or the colors look dull compared to the digital file. None of that is random. DTF is a chain of variables, and a weak link anywhere in that chain shows up in the final garment. This guide walks through what actually matters, based on production runs rather than spec sheets alone.
What Makes DTF Different From Other Transfer Methods
Direct-to-film printing builds an image on a PET film using water-based pigment inks, then coats the wet print with a hot-melt adhesive powder. After the powder gels, you have a transfer that can be stored, shipped, and pressed onto almost any fabric. That last part is the real advantage. Cotton, polyester, blends, nylon, canvas, even some leathers, all take a DTF transfer without the pretreatment steps that DTG requires on dark shirts.
The trade-off is that you are now responsible for two processes instead of one. The print has to be correct, and the press has to be correct. A perfect print pressed badly will fail. A mediocre print pressed perfectly will still look mediocre. Both halves need attention.
Film and Ink Choices That Affect the Final Result
Not all DTF film behaves the same way. Single-sided matte film is the standard for most shops because it grips the powder evenly and releases cleanly after pressing. Double-sided film can help with very fine detail, but it tends to curl in humid rooms and costs more. If you are running a small shop, start with a reliable single-sided matte film and learn its quirks before experimenting.
Ink matters more than most people expect. Cheap pigment inks can look fine on day one and shift color after a wash cycle or two, especially in the reds and deep blues. Reputable DTF ink sets are formulated to hold up through repeated laundering, and they also cure more predictably under the powder. If your prints fade faster than the garment wears out, the ink is usually the culprit.
Why White Ink Coverage Is the Hardest Part
On dark garments, the white ink layer is what makes the colors pop. Too little white and the shirt color bleeds through. Too much and the transfer feels thick and plastic-like. The sweet spot depends on your printer, your RIP settings, and the fabric. A good starting point is a white layer that looks opaque when held up to a light, but not so heavy that the edges of the film start to buckle.
Powder, Curing, and Storage
The powder step is where a lot of transfers quietly fail. The powder needs to adhere to the wet ink evenly, and any excess has to be shaken or brushed off before curing. Leftover powder around the image becomes a halo of adhesive that picks up lint and looks messy on the finished shirt.
Curing temperature and time depend on the powder, but most hot-melt adhesives gel somewhere between 160 and 180 degrees Celsius for a short dwell. Under-cured powder will not bond fully to the fabric. Over-cured powder can turn brittle and crack. Follow the powder manufacturer's numbers, then verify with a peel test on a scrap garment before committing to a big order.
Storage is simple but often ignored. Keep finished transfers flat, in a dry place, away from direct sun. Humidity is the enemy. Film that has absorbed moisture will spit and bubble during pressing, and no amount of pressure will fix that.
Pressing DTF Transfers Correctly
Pressing is where experience separates a good shop from a great one. The variables are temperature, pressure, time, and peel method. Get all four right and the transfer will outlast the shirt.
- Temperature: Most DTF transfers press between 150 and 165 degrees Celsius. Too low and the adhesive will not flow into the fabric. Too high and the film can scorch or the adhesive can degrade.
- Pressure: Medium to firm, consistent across the platen. A weak spot in the pressure means a weak spot in the bond.
- Time: Typically 10 to 15 seconds for the main press. Some shops do a short pre-press to remove moisture from the garment first.
- Peel: Most DTF films are cold peel or warm peel. Cold peel gives cleaner edges on fine detail. Warm peel is faster for bulk work but can pull tiny dots of ink if the transfer is not fully set.
A pre-press matters more than people admit. Cotton shirts hold moisture, and that moisture turns to steam under the transfer. A five-second pre-press flattens the fabric and drives off surface water so the adhesive can bond to fibers instead of fighting vapor.
Peeling Technique in Practice
Peel at a low angle, close to the fabric, in one steady motion. Tugging upward pulls the ink with the film. If the transfer resists, it is not ready. Wait a few more seconds, or check whether your press is actually reaching the set temperature. A cheap infrared thermometer is worth owning for exactly this reason.
Common Defects and What They Usually Mean
Most problems fall into a handful of categories, and each one points to a specific fix.
- Cracking after washing: Usually under-cured powder or too little pressure. Sometimes it is a low-quality ink that cannot stretch with the fabric.
- Edges lifting: Uneven pressure, or the transfer was pressed over a seam or zipper.
- Dull colors: Insufficient white ink layer, or the press temperature was too low to fully activate the adhesive, leaving a hazy film.
- Bubbling under the film: Moisture. Pre-press the garment and store transfers in a dry place.
- Powder halo around the image: Excess powder not removed before curing.
Keep a scrap shirt near the press and test each new roll of film or batch of powder before running a paid order. It takes two minutes and saves a lot of reprints.
Where DTF Fits in a Real Shop
DTF transfers are not a replacement for screen printing on large runs, and they are not the cheapest option per unit once volume climbs. What they do well is short runs, complex multi-color designs, and jobs that would otherwise need multiple setups. A single transfer can carry photographic detail, gradients, and fine text without the registration headaches of a multi-screen print.
For small businesses selling online, this flexibility is the whole point. You can print one shirt with a detailed design, ship it the same day, and not lose money on setup. For shops doing team wear or event merch, DTF handles the odd sizes and last-minute additions that screen printing hates.
Frequently Asked Questions About DTF Transfers
How long do DTF transfers last on a shirt?
With correct pressing and proper washing, a quality DTF transfer can hold up through dozens of wash cycles, often outlasting the garment itself. Wash inside out in cold water and avoid high-heat drying to extend the life of the print.
Can you press DTF transfers on 100% polyester?
Yes, and this is one of the strengths of DTF. Polyester takes the transfer well, but you should lower the press temperature slightly to avoid scorching or dye migration from the fabric into the print. Test on a scrap piece first.
Do DTF transfers need pretreatment?
No. Unlike DTG printing, DTF transfers do not require a pretreatment liquid. The adhesive powder on the transfer itself handles the bonding, which is why DTF works on so many fabric types.
What is the difference between hot peel and cold peel DTF film?
Hot peel film is removed while the transfer is still warm, which speeds up production. Cold peel film is allowed to cool completely before peeling, which gives cleaner edges on fine detail. The right choice depends on your design and your workflow.
Why did my DTF transfer come out sticky after pressing?
A sticky surface usually means the transfer was under-pressed or the powder was not fully cured. Increase the dwell time or check that your press is reaching the correct temperature, then run a test before pressing a full order.