UV DTF Printing: Step-by-Step to Your First Print Job
UV DTF printing is at the forefront of modern printing technology, merging versatility with the ability to produce vivid colors on a wide range of substrates. This innovative printing method allows for custom designs to be printed directly onto UV DTF film, ensuring high-quality results that truly stand out. If you’re eager to learn how to set up UV DTF, this guide covers everything from the UV printer setup to the essential curing of UV inks. Discover the meticulous yet rewarding process of completing your first UV DTF print job with confidence. By following the steps outlined, you’ll unlock a creativity that transforms your ideas into stunning printed realities.
When we talk about direct-to-film UV printing, we refer to an advanced method that opens doors to a myriad of creative opportunities. This technique employs UV-curable inks, which are applied to specialized films, making them suitable for various applications, from textiles to signage. Getting started with this process involves understanding key concepts such as UV printer configuration, the significance of UV DTF film, and the essential steps for curing UV inks properly. As you embark on your journey to master this innovative printing approach, not only will you enhance your skills, but you will also discover endless possibilities in the world of custom prints.
Understanding the Basics of UV DTF Printing
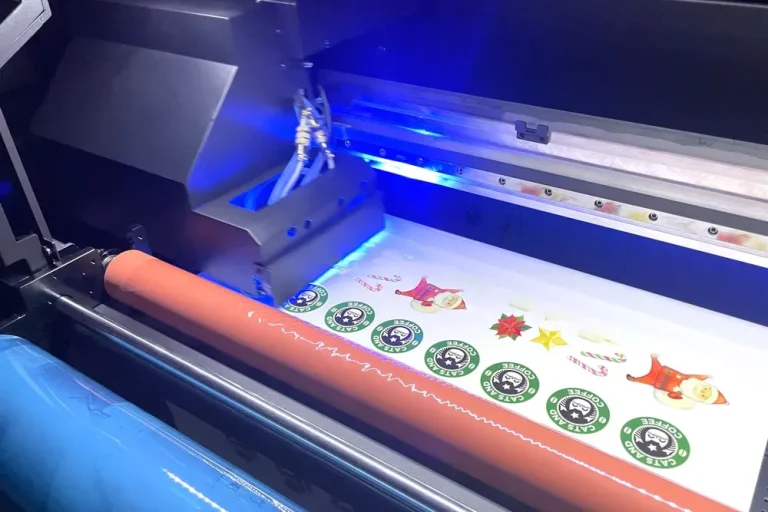
UV DTF printing, or UV Direct-to-Film printing, is a cutting-edge technique that combines the efficiency of digital printing with the durability of UV inks. At its core, the process utilizes specially coated films that enable the transfer of vibrant images onto various substrates. Unlike traditional printing methods, UV DTF printing utilizes ultraviolet light to cure the inks as they are printed, creating a robust bond to materials like textiles, ceramics, and other surfaces. This method allows for greater flexibility in design and application, making it a popular choice among graphic designers and businesses looking to produce custom printed items.
The simplicity of the UV DTF process begins with the design stage, where artists create high-resolution images tailored to the intended substrate. This is followed by printing onto the UV DTF film, which is then cured using UV light to ensure quick drying and lasting adhesion. Understanding the nuances of UV DTF printing is essential for achieving optimal results, particularly for high-quality, detailed prints. By becoming familiar with the process and the technical specifications of your UV printer setup, you’ll be positioned to create stunning custom designs that stand out.
Essential Equipment for a Successful UV DTF Print Job
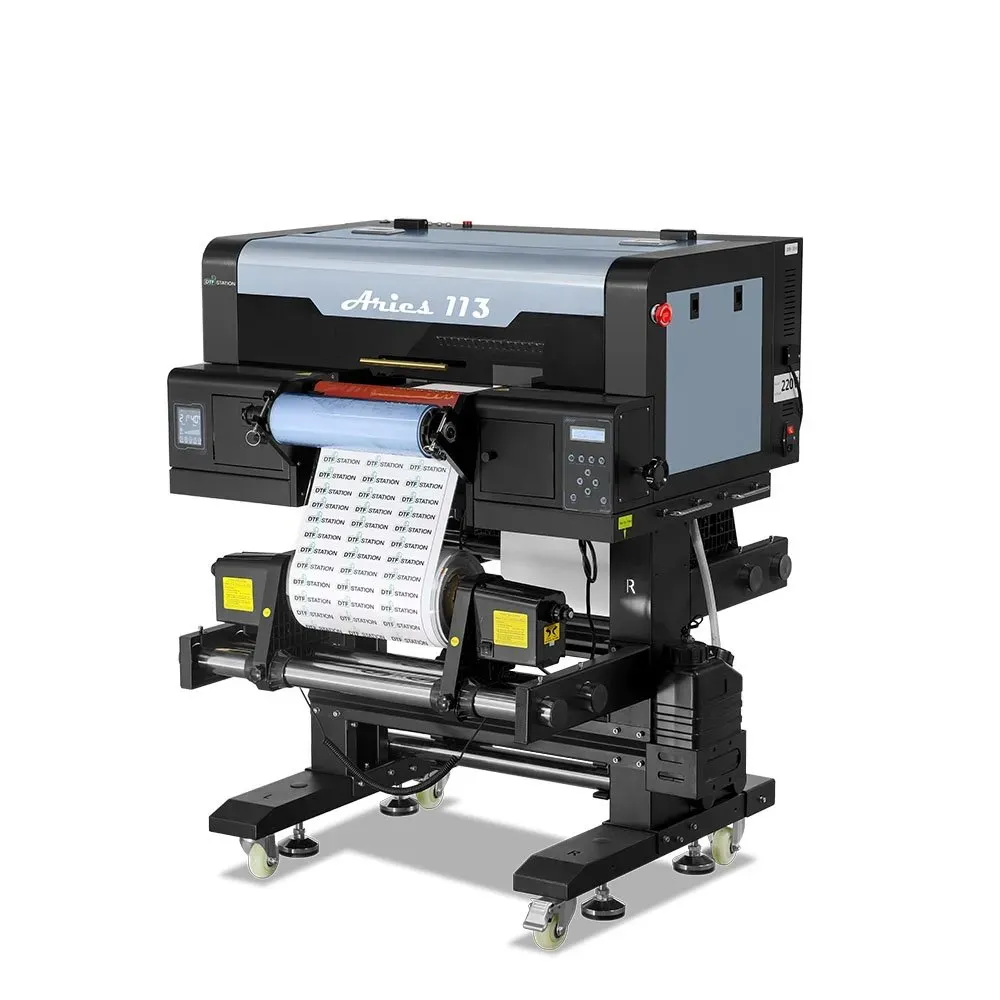
To efficiently set up a UV DTF print job, you’ll need specific equipment tailored to this printing method. The most significant investment is the UV DTF printer itself, preferably from reputable brands such as Epson or Mimaki, recognized for their reliability in UV ink printing. Additionally, procuring high-quality UV DTF film is crucial as it affects the final image clarity and durability. Selecting the right type of film that is compatible with your printer’s UV inks ensures optimal print quality.
Alongside the printer and film, consider investing in a heat press, which is vital for transferring the cured designs onto your chosen substrate effectively. Design software such as Adobe Illustrator or CorelDRAW will also be critical for creating and preparing your artwork. Each piece of equipment plays an integral role in the overall success of your UV DTF print job. Owning the right tools not only simplifies the setup process but also enhances the quality and efficiency of your printing endeavors.
Step-by-Step Guide to UV Printer Setup
Setting up a UV printer for DTF printing is straightforward but requires attention to detail. Begin by properly connecting your UV printer to your computer, ensuring all necessary drivers are installed. This step is crucial to communicate accurately between your design software and the printer, enabling seamless print jobs. Next, navigate to the printer settings to select the correct media type for UV DTF printing, which optimizes ink usage and ensures that the curing process occurs efficiently.
Calibration is another vital aspect of your printer setup. Conduct a thorough ink calibration process to align the colors accurately and confirm that your images will print as intended. Pay close attention to any adjustments needed based on the type of UV ink you are using. Following these steps will establish a solid foundation for your UV DTF printing experience, helping you avoid common pitfalls and achieve high-quality prints right from the start.
Creating Stunning Designs for UV DTF Printing
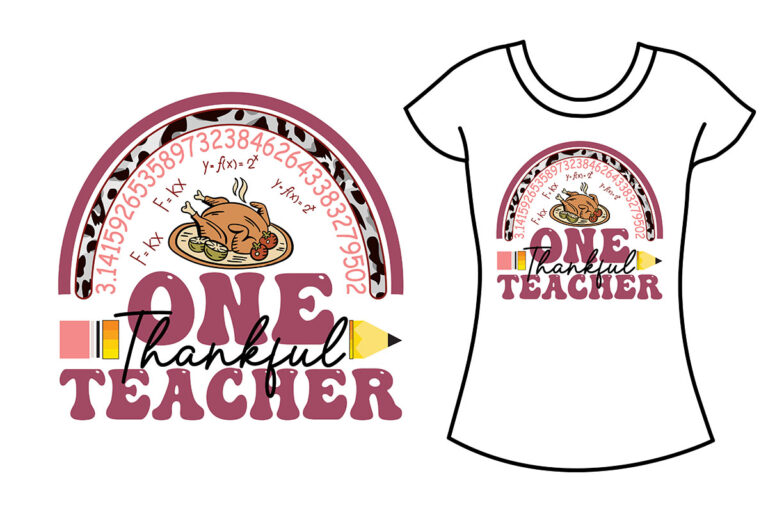
Design creation is one of the most exciting stages in the UV DTF printing process. Start by determining the size and resolution of your artwork, which should align precisely with the dimensions of the UV DTF film you are using. A resolution of at least 300 DPI is recommended to ensure sharpness and clarity in the final print. Choose vibrant colors and intricate designs, as UV printing can capture details more vividly compared to other printing methods.
It’s crucial to save your designs in compatible file formats such as PNG, JPG, or TIFF, based on the specifications of your UV printer. Performing test prints in draft mode can help identify layout and color discrepancies before executing the final print. Adjust your designs accordingly to mitigate any potential issues, ensuring that the final product reflects your vision accurately and stands out in quality.
The Importance of Curing UV Inks Effectively
Curing UV inks is a critical phase in the UV DTF printing process, directly impacting the durability and quality of your prints. Once the printing is completed, it’s essential to cure the ink using UV light. This can be achieved either with a built-in UV curing unit of your printer or with a standalone UV curing device. The curing process hardens the ink, providing not only durability but also resistance to scratching and fading, enhancing the longevity of your designs.
The specifics of curing times and distances should be closely followed according to the ink manufacturer’s guidelines to achieve optimal results. Neglecting this step can lead to sub-par prints that may smudge or peel over time. By ensuring that curing UV inks is handled with care, you pave the way for producing high-quality prints that remain vibrant and intact, even when exposed to varying conditions.
Mastering the UV DTF Transfer Process
Once your design has been printed and cured, the next step involves transferring it onto your chosen substrate, a process that requires precision and care. Begin by positioning the cured UV DTF film onto the substrate, ensuring proper alignment to avoid misprints during pressing. This step is fundamental in achieving a polished final product, so take the time to check and double-check that everything is in place.
Utilizing a heat press set to the recommended temperature and pressure settings is critical for a successful transfer. Typically, a heat setting of 320°F for 15 to 20 seconds is effective, but it is important to verify this with the specific requirements of your heat press and substrate. Proper execution of the transfer process not only ensures adherence but also enhances the overall visual quality of the print, allowing for a vibrant and lasting design.
Frequently Asked Questions
What is UV DTF printing and how does it work?
UV DTF printing is a cutting-edge technology that utilizes UV-curable inks printed on specially coated films. These films can be applied to various substrates, including textiles and ceramics. The process involves loading UV DTF film into a compatible printer, printing your design, and curing the UV inks for durable, vibrant results.
How do I set up my UV printer for a UV DTF print job?
To set up your UV printer for a UV DTF print job, first connect the printer to your computer and install the necessary drivers. Then, within the printer settings, select the correct media type for UV DTF printing. Finally, ensure that the ink calibration is performed to achieve accurate colors and design quality.
What type of film is required for UV DTF printing?
For UV DTF printing, it is essential to use specially coated UV DTF film that is compatible with your UV inks. This film is designed to promote optimal ink adhesion and prevent smudging or fading, ensuring high-quality and long-lasting prints on various substrates.
What are the steps for curing UV inks in UV DTF printing?
Curing UV inks in UV DTF printing is crucial for achieving a durable print. This can be done using a built-in UV curing unit on the printer or a standalone UV curing unit. Follow the manufacturer’s instructions regarding curing time and distance to ensure the inks harden properly and provide excellent adherence.
What should I consider during the design creation for UV DTF printing?
When creating designs for UV DTF printing, ensure your artwork meets the required size and resolution (at least 300 DPI) for sharp, clear images. Save your files in compatible formats such as PNG or JPG, and perform test prints to verify color alignment and design layout before executing the final print.
What is the heat press process for transferring UV DTF prints?
The heat press process for transferring UV DTF prints involves carefully aligning the cured UV DTF film onto the desired substrate and applying heat and pressure using a heat press machine. Follow recommended settings—typically around 320°F for 15-20 seconds—to ensure effective transfer while preventing damage to the design.
| Step | Description |
|---|---|
| 1. Understanding the UV DTF Printing Process | Utilizes UV-curable inks on coated films for various substrates, ensuring vibrant and durable results. |
| 2. Gathering Necessary Equipment | Essential tools include a UV DTF printer, UV DTF film, UV inks, heat press, and design software. |
| 3. Printer Setup | Connect, select media type, and calibrate ink for optimal print quality. |
| 4. Design Creation | Design artwork with the right size, resolution, and compatible file types; perform test prints. |
| 5. The Print Process | Load film carefully and monitor printing for any issues during the process. |
| 6. Curing the Ink | Cure the printed ink using built-in or standalone UV curing units according to specifications. |
| 7. The Transfer Process | Align the film with the substrate and use a heat press per manufacturer settings for effective transfer. |
| 8. Final Inspection | Inspect the final product for quality, clarity, and adherence of the print. |
Summary
UV DTF printing is a powerful process that enables creative professionals to produce stunningly vibrant designs on a variety of substrates. Following the outlined steps from understanding the process to performing a final inspection ensures that your first UV DTF print job is executed successfully. By leveraging the right equipment and techniques, you can unlock a world of possibilities in custom printing, whether for personal projects or commercial endeavors. The ability to create high-quality, durable prints with vivid colors opens up numerous creative avenues. Embrace the potential of UV DTF printing and start your journey toward bringing unique designs to life!