DTF transfers workflow: From Design to Dress Success
DTF transfers workflow is the backbone of modern garment customization, guiding designers from concept through printing, curing, and final application, while aligning creative vision with production realities. This end-to-end approach connects the design phase to production, ensuring reliable results across fabrics and garment types. Key steps in the DTF transfers workflow include design setup, prepress color management, DTF printing process, Direct to film transfer steps, adhesive powder application, and the transfer itself, all critical to achieving color fidelity, consistency across runs, and predictable waste reduction. Artists and operators optimize each stage for consistency and efficiency, making sure the white ink base on dark fabrics remains vibrant and durable, while also monitoring grid alignment, edge sharpness, and texture to ensure a professional hand feel. With attention to material compatibility and process parameters, this workflow supports successful DTF film printing on a range of textiles and apparel, including DTF transfers for clothing across styles.
A related framing is the direct-to-film transfer framework, where digital artwork becomes vibrant textile decoration through a structured film-to-fabric process. From an LSI perspective, people often speak in terms of direct-to-film technology, film printing on apparel, or powder-assisted heat transfer across clothing, all signaling the same underlying workflow. This view emphasizes design-to-production alignment, print readiness, and the final application steps, which are central to the DTF concept. Whether described as a DTF process, a garment decoration pipeline, or a film-based transfer method, the core ideas—color control, adhesion, and durability—remain consistent across applications.
DTF transfers workflow: From design to durable garments
The DTF transfers workflow is an end-to-end pathway that begins with a digital concept and ends with a durable, high-quality finish on fabric. It spans design and preparation, prepress color management, printing on DTF film, adhesive powder application, curing, transfer, and finishing. In the DTF printing process, controlling color and substrate compatibility is essential to ensure predictable results across garments such as cotton tees, blends, and performance fabrics. The approach mirrors Direct to film transfer steps, with each phase feeding the next so that a single solid design becomes wearable clothing, consistent in color and hand feel.
Practical optimization for the DTF transfers workflow includes thorough test prints, accurate white ink layering on dark fabrics, and maintaining film alignment. Designers should plan for color separations, halftones, and edge definition in a way that translates well when the white base and color inks are transferred. When executed with proper heat, pressure, and timing, the DTF transfers for clothing deliver crisp lines, vibrant hues, and a soft hand, minimizing troubleshooting later in production.
DTF printing process and film printing: Optimizing Direct to Film transfer steps for apparel
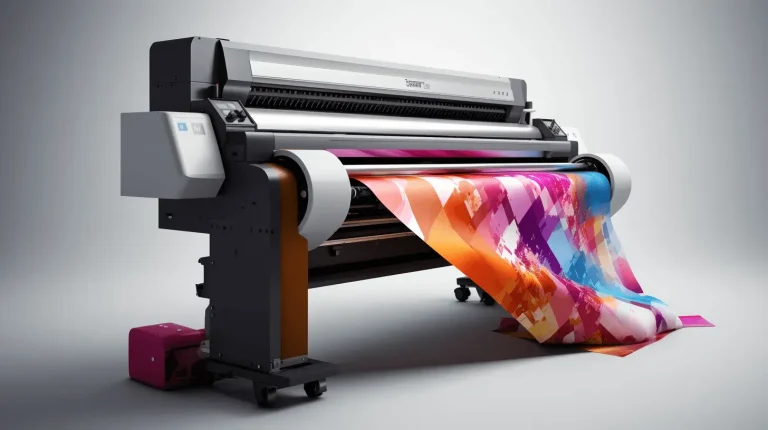
DTF printing process combines digital artwork, DTF inks, a compatible printer, and the film substrate to create a transfer-ready design. The film printing stage uses a white ink base on dark fabrics to enable bright colors, followed by color inks for the artwork. Key parameters include print resolution, ink density, and proper nozzle maintenance. Mastering the Direct to film transfer steps ensures consistent adhesion and vibrant color on a range of textiles, including cotton, blends, and synthetics.
Quality assurance for the film printing stage involves test swatches, color profiling, and monitoring ink usage to prevent banding or color drift. Post-print steps—powder application, curing, and precise transfer temperature, time, and pressure—significantly affect wash-fastness and durability. By focusing on DTF film printing quality and related process controls, you can achieve reliable clothing transfers with strong color fidelity, a soft hand feel, and repeatable results across different garments.
Frequently Asked Questions
How does the DTF transfers workflow incorporate the Direct to Film transfer steps from design to finished garment?
The DTF transfers workflow is the end-to-end process from initial design to a finished garment. The Direct to Film transfer steps form the core sequence: print on DTF film using the correct inks, apply adhesive powder, cure the powder, and then transfer the design to fabric with controlled heat, time, and pressure. When design prep, color management, and prepress are aligned with film printing and powdering, you get consistent color brightness, strong adhesion, and a soft hand feel across cotton, blends, or synthetics. In practice, this mirrors the DTF printing process where film printing, powdering, curing, and transferring are tightly integrated. Key to success is matching the transfer parameters to fabric type and using proper post-transfer finishing.
What should you focus on during DTF film printing to ensure high-quality clothing transfers in the DTF printing process?
During DTF film printing, you should optimize the white base on dark fabrics, select the right DTF film substrate, and control print resolution and ink density. Maintain the printer and nozzles, use accurate color management profiles, and perform small test prints on fabric swatches to verify edge definition and color brightness before full runs. Also confirm that the film printing aligns with the broader DTF printing process, since later powdering and curing depend on an accurate image transfer. Fine-tuning these factors helps ensure durable adhesion, wash-fastness, and consistent results across clothing.
| Phase / Topic | Key Points | Best Practices / Notes |
|---|---|---|
| What is the DTF transfers workflow? | A structured sequence to convert a digital design into a wearable transfer, including design setup, prepress, printing, powdering, curing, transfer, and finishing. | Aim for clarity and alignment across fabrics; understand each phase’s role to ensure consistent results and minimize waste. |
| Design and preparation | Focus on color management, print resolution, and substrate compatibility. Use high-res artwork (1500–3000 dpi); plan the white layer for vibrant colors on dark fabrics; consider line weights and halftones for film printing. | Treat the garment as the canvas; tailor color separations and bleeding allowances to fabric type (cotton, blends, performance fabrics) for sharp edges and faithful color. |
| Prepress and color management | Perform color correction, soft proofing, and ensure layout fits the printable area. Separate colors into channels and simulate transfer appearance; prepare white channel for dark fabrics. | Do small test prints on swatches; align final garment to printing; maintain predictable color management to reduce waste. |
| Printing on DTF film | Print with appropriate DTF inks, a compatible printer, and correct film substrate. Use white ink as base on dark fabrics, then apply color inks. Monitor print resolution, ink density, and nozzle health. | Prevent banding, maintain clean print heads, use accurate color profiles, and manage ink consumption for consistency. |
| Powder application and curing | Apply white adhesive powder evenly; cure to activate adhesive. Uniform powder and proper curing ensure strong adhesion and durability. | Avoid under/over-curing; ensure consistent powder coverage for reliable performance on various fabrics. |
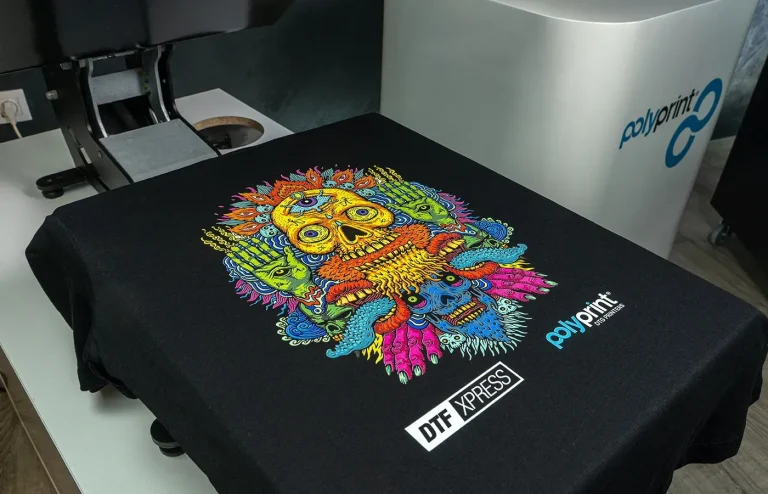
| Transfer to fabric | Control heat, time, and pressure. Typical: 160–180°C (320–356°F) for 15–30 seconds with even contact. Pre-heat and align carefully. | Misalignment or incorrect timing can ruin the design; ensure crisp edges, saturated color, and soft hand feel. |
| Post-transfer finishing and inspection | Cool and cure as needed; inspect adhesion, color fidelity, and finish. Address any residue or color unevenness. | Optional light press to remove wrinkles; proper finishing extends transfer life and perceived quality. |
| Equipment, materials, and workflow optimization | Reliable DTF printer, film, white ink, adhesive powder, curing equipment, and heat press. Fabric choices influence results; regular maintenance and calibration are key. | Invest in training and routines to sustain consistency; keep color profiles current and calibrate equipment regularly. |
| Quality, color, and compatibility | Focus on fabric compatibility, color management, and white ink strategy. Test across fabrics to ensure color accuracy and adhesion. | Adjust white ink usage and color balance for light vs. dark fabrics; perform fabric sampling. |
| Troubleshooting and continuous improvement | Common issues include misalignment, ghosting, dull colors, and poor adhesion. Check film alignment, curing times, and white ink coverage. | Document settings, build a knowledge base, and run small experiments to refine the process. |
| The future of DTF transfers workflow in apparel | DTF technology evolves with inks, films, and adhesive chemistry; software integration for color management and automated QC will streamline the workflow. | Adopt new tools and trends; invest in training to stay competitive. |