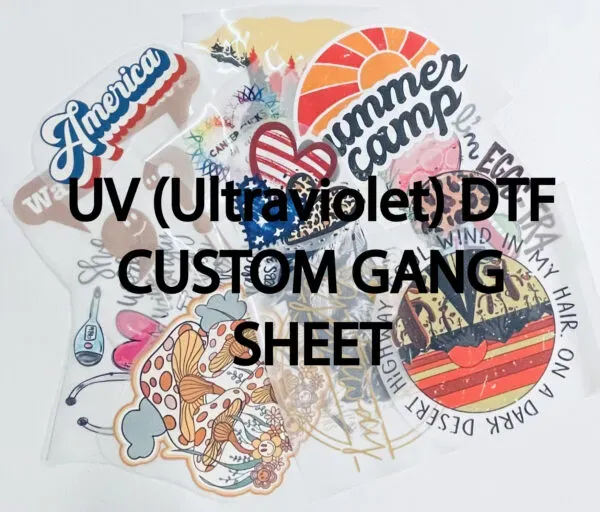
DTF Transfers Workflow: From Artwork to Apparel Step-by-Step
DTF transfers workflow is the backbone of turning artwork into durable apparel using direct-to-film printing. This introductory guide outlines a complete, scalable process designed for designers and printers to achieve vibrant prints, consistent results, and efficient production. By following a structured DTF transfers workflow, shops can improve color fidelity, reduce waste, and speed up turnaround times while delivering high-quality apparel. As part of the process, consider how DTF printing steps align with best practices in apparel printing with DTF and the broader landscape of direct-to-film printing. Whether you are launching a new line or scaling an existing shop, this approach helps maintain color accuracy across fabrics and offers practical guidance when weighing DTF vs DTG.
A second take on the same idea describes it as a film-based garment transfer process that moves digital art onto textiles through a heat-activated method. This alternative framing—often called direct-to-film or film transfer—emphasizes prepress preparation, material selection, and the role of a curing and pressing sequence to lock in color. Using an LSI approach, you’ll find semantically related concepts such as color management, per-fabric testing, and workflow automation that help teams scale. Describing the journey in these terms helps content leverage related search terms like DTF transfers, direct-to-film printing, and DTG comparisons without overstuffing a single phrase. Ultimately, the goal remains the same: reliable, vibrant results produced efficiently across many garments.
DTF transfers workflow: From Artwork to Durable Apparel with Direct-to-Film Printing
DTF transfers workflow anchors the production pipeline by turning artwork into durable apparel through direct-to-film printing. By standardizing key stages—from artwork preparation and color management to film printing and powder curing—the process delivers vibrant prints, consistent results, and efficient production. This approach supports scalable output and helps shops reduce waste while maintaining color fidelity across fabric blends.
In an optimized DTF transfers workflow, teams leverage DTF printing steps and best practices for apparel printing with DTF. Clear documentation of press settings, batch handling, and quality checks ensures reliable results even during high-volume runs. By testing on target fabrics, soft proofing designs, and tracking production parameters, operators can minimize misprints and improve turnaround times.
DTF vs DTG: Choosing the Right Path for Apparel Printing with Direct-to-Film Technology
DTF vs DTG: Understanding the differences helps designers choose the right path for apparel printing with direct-to-film technology. While DTG focuses on direct garment printing, a DTF approach centers on transferring from film, offering broad fabric compatibility, strong color reproduction, and easier multi-color layering within the DTF transfers workflow and broader printing ecosystem.
For apparel printing with DTF, evaluate fabric types, production scale, and turnaround. If you require vibrant, durable designs on a wide range of textiles and want scalable batch production, DTF printing steps and the DTF transfers workflow often deliver better throughput and efficiency compared with traditional DTG, though DTG can excel on 100% cotton with soft hand feel.
Frequently Asked Questions
What is the essential DTF transfers workflow for reliable results in apparel printing with DTF?
A well-defined DTF transfers workflow guides every step from artwork to finished garment. It covers artwork preparation and color management, printing onto DTF film, powdering and curing, preparing the substrate and alignment, transferring to fabric with heat and pressure, post-press finishing, and ongoing quality control and storage. Following these DTF printing steps consistently improves color fidelity, reduces waste, and speeds production while handling a wide range of fabrics in apparel printing with DTF, helping you achieve repeatable results even on high-mixed-order runs.
DTF vs DTG: How does the workflow differ and what should shops consider within the DTF transfers workflow?
DTF vs DTG affects the required steps, costs, and outcomes in the DTF transfers workflow. DTF printing steps rely on film, adhesive powder, and heat transfer, offering strong fabric compatibility and vibrant color with efficient small runs. DTG emphasizes direct-to-garment inks on the fabric itself, often needing white underbase optimization on dark fabrics and a different set of press and curing considerations. Understanding these differences helps teams choose the right method for each product line and align the workflow, color management, and press settings to achieve consistent results.
| Aspect | Key Points |
|---|---|
| Introduction and Purpose | DTF transfers workflow turns artwork into durable apparel, aiming for vibrant prints, consistent results, and efficient production; it improves color fidelity, reduces waste, speeds turnaround, and delivers high‑quality garments. |
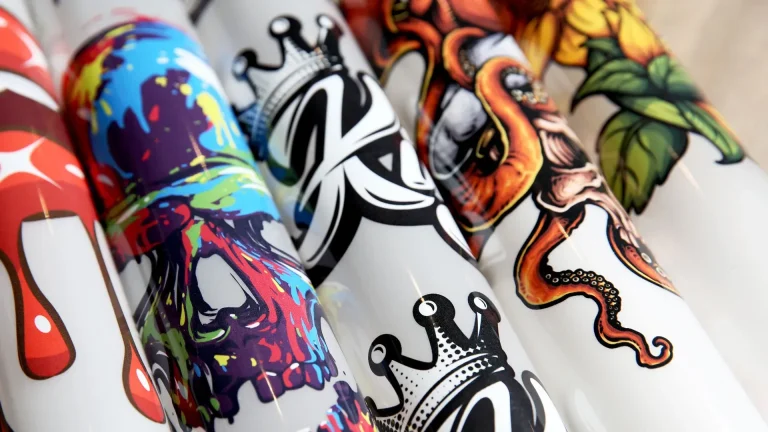
| What is Direct-to-Film Printing and Why the Workflow Matters | DTF uses a transparent film with a release layer and water‑based inks, dusted with an adhesive powder and cured before transferring with heat. It offers versatility across fabrics, vibrant color, and the ability to layer detailed designs. A well‑defined DTF transfers workflow coordinates artwork preparation, color management, material handling, and press settings into a repeatable process for reliable results, even with mixed orders. |
| Step-by-Step DTF Transfers Workflow (Overview) | Covers the core stages from initial artwork to finished garment; steps should be adapted to equipment, film/powder brands, and fabrics. |
| Step 1: Artwork preparation and file setup | Clean, print‑ready art in the appropriate color space (typically sRGB for proofs, printer profile for production); use 300 dpi or higher at final print size; consider margins/bleed; name files consistently; maintain a simple folder structure for batching. |
| Step 2: Color management and separations | Perform color separations as needed; white underbase on dark fabrics; test swatches on target fabric; use soft proofing and adjust hues to maintain fidelity after heat exposure. |
| Step 3: Printing onto DTF film | Print on clear or tinted DTF film with water‑based inks; ensure correct color profile and print mode; use reliable film; batch similarly colored designs to minimize color drift; handle film with clean, dry hands to prevent smudges. |
| Step 4: Powdering and curing | Dust the film with adhesive powder evenly and tap off excess; ensure even coverage; cure according to powder manufacturer instructions to ensure strong adhesion and reduce color cracking later. |
| Step 5: Preparing the substrate (pre press and alignment) | Pre‑press to remove moisture and wrinkles; align the transfer carefully using registration marks; keep alignment consistent across items for print accuracy. |
| Step 6: Transfer to garment (hot press) | Apply heat and pressure with a steady, even press; follow recommended temperature and time; perform a warm to cool peel as directed; use a protective silicone sheet; document standard press times/settings for repeatability. |
| Step 7: Post-press finishing and inspection | Allow cooldown; inspect color consistency, alignment, and edge adhesion; trim stray film if needed; conduct a final batch QC to minimize returns and guide future runs. |
| Step 8: Quality control and storage of finished items | Ongoing QC; record deviations, color variations, or texture differences; store finished orders in a clean, dry area away from direct sunlight; log production parameters for continuous improvement. |
| Tools, Materials, and Equipment for a Robust DTF Transfers Workflow | DTF printer and inks; DTF film; adhesive powder; curing device; heat press; backing materials and protective sheets; pre‑press board or platen guide. |
| Best Practices for a Consistent DTF Transfers Workflow | Standardize file naming/folder structure; build a color management workflow with proofs and targets; maintain a regular maintenance schedule; batch similar designs; document exact press settings; align art and garment orientation; invest in quality control checks. |
| DTF Transfers Versus Other Methods | DTF offers fabric compatibility and vibrant color on a wider range of textiles than DTG, with different workflow steps, durability, and cost per garment in small runs. It is often easier to manage multicolor designs with consistent results. |
| Workflow Optimization and Scaling for a Busy Shop | As orders grow, implement SOPs, checklists, batch scheduling, and inventory logs to reduce miscommunication and downtime; align pre‑press, powder curing, and press cycles for faster, scalable production. |
| Safety and Sustainability Considerations | Ensure proper ventilation and PPE; manage waste per regulations; consider recycling programs and sustainable material choices (e.g., water‑based inks) for safety and environmental goals. |
| Cost, ROI, and Practical Takeaways | Understand material costs, maintenance, and labor; a well‑designed workflow reduces time and waste, improving ROI; start with a baseline cost per shirt and pursue batch printing, optimized color profiles, and standardized press settings for efficiency. |
Summary
DTF transfers workflow is the backbone of turning artwork into durable apparel, guiding printers from concept to finished garment with consistency and efficiency. This descriptive overview highlights how a structured DTF transfers workflow supports vibrant prints, high color fidelity, and efficient production, while reducing waste and enabling scalable results. By following the key steps—from artwork preparation to final inspection—teams can maintain quality, optimize throughput, and sustain safety and sustainability practices across the workflow.