DTF transfers: Tools, materials, and beginner setup
DTF transfers have transformed fabric decoration by offering a durable, vibrant result through the direct-to-film printing process. For beginners, understanding the core tools and materials—DTF film and powder, ink systems, and a reliable heat press setup for DTF—can unlock reliable results. This guide introduces the essential components, from DTF transfer paper to compatible printers, and shows how to assemble a beginner-friendly workflow. Using proven workflows—designed around reliable DTF printing supplies and clean workspaces—you’ll confidently translate digital designs into crisp, transfer-ready films. With practice, you’ll be producing professional-looking garments and accessories while keeping the process simple and repeatable.
Equally described as a film-based transfer technique, this approach moves printed artwork from a coated film onto fabrics using an adhesive powder and heat. Practitioners often refer to it as a direct-to-film method, a process built on PET film, powders, and compatible inks to yield durable finishes on cotton and blends. A typical setup includes a heat press, a curing step, and careful timing to maximize color density and wash resistance. By exploring synonyms such as fabric decal from film, powder-assisted transfer, and garment decoration workflows, beginners can build a scalable path from trials to small runs. When selecting supplies, focus on reliable DTF film and powder plus suitable transfer media to ensure consistent results.
DTF Transfers for Beginners: Essential Tools, Materials, and Setup
DTF transfers have become a practical entry point for decorating fabrics and other substrates. When you pair direct-to-film printing with quality supplies and a well-tuned heat press, you can achieve vibrant, durable designs with a relatively gentle learning curve. This guide highlights the foundations you need to start confidently, including how to align your workflow with the basics of DTF transfers.
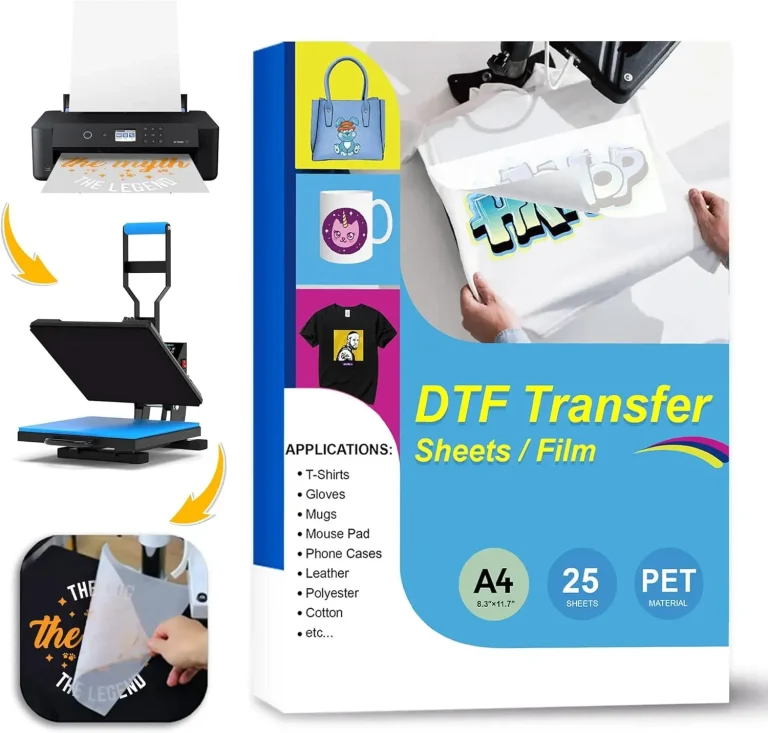
A solid beginner setup starts with the core tools and materials. You’ll need DTF film (clear PET film) as the receiving surface for your printed image and adhesive powder; DTF powder to create a durable bond during heat application; a compatible DTF ink/printing system; transfer paper to support the printed design before transfer; and a reliable heat press. Protective gear like Teflon sheets, heat-resistant gloves, and a clean workstation help ensure consistent results. Also, keep isopropyl alcohol, lint-free wipes, and a soft brush on hand for printer and workspace maintenance.
(Continued) Foundational Tools and Workspace for DTF Transfers
A tidy workstation reduces errors and speeds up production. Organize zones for printing, curing, and pressing, and ensure you have a stable, heat-safe surface for the heat press. Proper ventilation, temperature and humidity control, and accessible storage for film, powder, transfer paper, and tools all contribute to repeatable results. When you choose your supplies, look for compatibility with your printer, reliability in wash-fastness, and strong user reviews—these are hallmarks of quality DTF printing supplies.
With the right setup, a typical workflow flows smoothly from design to transfer. Keep your workspace clean to minimize dust and lint that can affect edge quality and color accuracy. As you practice, document your settings and test on small samples to build a solid baseline for future projects.
(Next) Step-By-Step Process and Optimization for DTF Transfers
Design and print preparation begin by creating or adjusting artwork in a graphics program, using a color profile suited for direct-to-film printing and your printer’s capabilities. Preview the print to confirm color intensity and edge clarity, then print onto the DTF film using your ink system. Maintain clean print heads and calibrated color output to ensure consistent results.
After printing, apply DTF powder while the film is still slightly damp, then cure the coated film to harden the adhesive. Place the cured film on the substrate with a barrier sheet, then press with the appropriate heat, time, and pressure. Allow the design to cool before removing the transfer and performing post-press care. Regularly review your process against wash tests to confirm durability.
(Further) Troubleshooting, Maintenance, and Long-Term Quality
Common issues like ghosting, poor adhesion on dark fabrics, or edge cracking can usually be traced to heat, curing time, powder thickness, or fabric compatibility. Recheck your heat press settings, cure durations, and powder application to isolate the cause. Calibrating color profiles and ensuring a clean, dust-free environment will also reduce recurring problems.
Ongoing maintenance matters: clean print heads and film rails, store films and powders properly, and perform periodic test prints to catch drift early. Keeping meticulous records of temperatures, times, film type, powder brand, and transfer paper usage helps reproduce successful results and improves your understanding of what works best for different substrates.
Frequently Asked Questions
What are the essential tools and steps to start with DTF transfers, and how do you set up the heat press for DTF printing?
For beginners, essential DTF transfers tools include DTF film and powder, a compatible DTF ink/printing system, DTF transfer paper, and a reliable heat press, plus basic workspace items (protective sheets, gloves). A typical beginner workflow with direct-to-film printing: design and prepare artwork; print onto DTF film using your DTF printing supplies; apply and cure the adhesive powder while the film is slightly damp; cure the powder per the manufacturer; position the cured film on the substrate with a barrier sheet; press at about 160–170°C (320–340°F) for 10–15 seconds with steady pressure; peel and cool; and perform post-press care and wash tests. Keep the workspace clean and use fabrics like 100% cotton or cotton blends. Always follow your specific materials’ guidelines for best results.”},{
What are common problems with DTF transfer paper and film, and how can beginners troubleshoot using proper DTF printing supplies and a solid heat press setup for DTF?
Common issues include ghosting or faint edges, poor adhesion on dark fabrics, cracking or peeling after wash, smearing during transfer, and color shifts. Troubleshooting tips: ensure powder cure is complete and heat is uniform to prevent ghosting; adjust adhesive layer, temperature, and dwell time for dark fabrics; confirm full cure and fabric compatibility to avoid cracking or peeling; ensure the printed film is fully cured and use fresh powder and clean surfaces to prevent smearing; calibrate printer color profiles and maintain consistent DTF printing supplies to minimize color shifts. Best practices also include running small test prints, documenting settings for repeatability, using barrier sheets, and testing wash durability on samples before full production. These steps leverage proper DTF printing supplies, DTF film and powder, DTF transfer paper, and a well-tuned heat press setup for DTF.
| Aspect | Key Points |
|---|---|
| Tools and materials for DTF transfers (beginner-friendly essentials) |
|
Summary
DTF transfers offer a practical pathway for beginners to achieve durable, vibrant designs on a range of fabrics. This descriptive overview summarizes the essential tools, workspace setup, workflow, common pitfalls, tips for optimization, and maintenance practices to help you start confidently with DTF transfers and scale your projects, from simple garments to accessories.