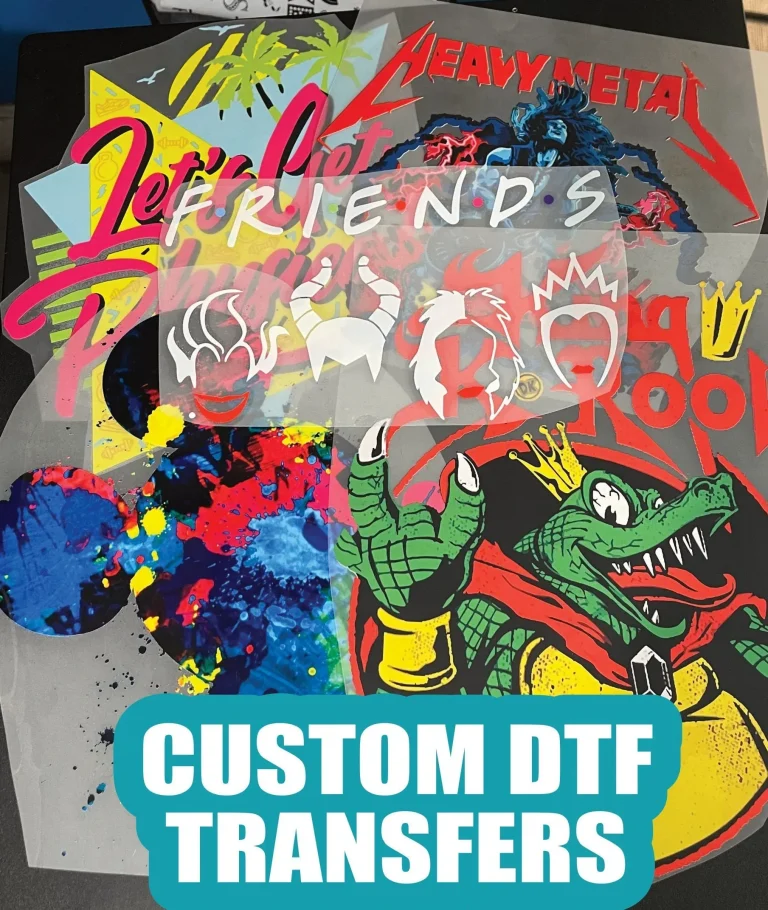
DTF transfers: A DIY guide to applying on t-shirts properly
DTF transfers have transformed how DIY crafters and small shops add full-colour, durable designs to fabrics. If you’re exploring a practical solution, this DTF transfers guide breaks down the process from concept to finish. Learn how to prepare your fabric, select suitable designs, and use a heat press for DTF to get professional results. This article also covers DTF printing on fabric specifics, tips for alignment, and care instructions to preserve vivid colour. By following these DIY t-shirt transfers steps, you’ll understand the method’s strengths and how it compares with sublimation or screen printing, and you’ll gain practical tips for choosing the right underbases, fabrics, and post-press care to maximise longevity.
An alternative way to describe this technique is direct-to-film transfers, a film-based garment decoration method that stores vibrant imagery on a printable sheet. In plain terms, designers print onto a special transfer film, then fuse the image to fabric with heat and pressure—creating full-colour results without screens. Other common terms you might encounter include direct-to-film printing on fabric, printed transfer film, and heat-pressable film art, all pointing to the same end product. Using these related concepts helps search engines connect your content to readers seeking beginner guides, troubleshooting tips, or shop-ready projects.
DTF Transfers Demystified: From Design to Finished T-Shirts
DTF transfers represent a practical, high-quality option for DIY t-shirt projects, combining vibrant color and durable adhesion. This section follows the logic of a DTF transfers guide, walking you from design choice through transfer setup and final curing. You’ll learn why direct-to-film workflows can offer a balance of speed, flexibility, and quality that suits small shops and hobbyists alike.
DTF printing on fabric enables complex, multi-color artwork with fewer color separations than traditional screen printing. By printing on a film and then transferring with heat, you can achieve sharp details on a wide range of fabrics, including dark garments, while keeping production relatively straightforward. This paragraph touches on how to choose designs, manage color layers, and plan for under-base needs when printing on darker fabrics.
DIY t-shirt transfers empower crafters to offer custom runs without large minimums. With the right prep—pre-wash, lint removal, precise alignment—and proper curing, you’ll get professional-looking results. This part also contrasts DTF methods with sublimation or DTG to help you decide when DTF transfers are the right fit for your shop or home studio.
Optimizing Your DTF Workflow: Tools, Settings, and Finishing Techniques
Setting up with the right toolset is essential for a smooth DTF process, and a good heat press for DTF is central to consistent results. Use the temperature, time, and pressure guidelines from the transfer sheet and align them with your fabric type. This section emphasizes practical gear choices, including silicone mats, Teflon sheets, and a sturdy pressing surface, to support reliable outcomes.
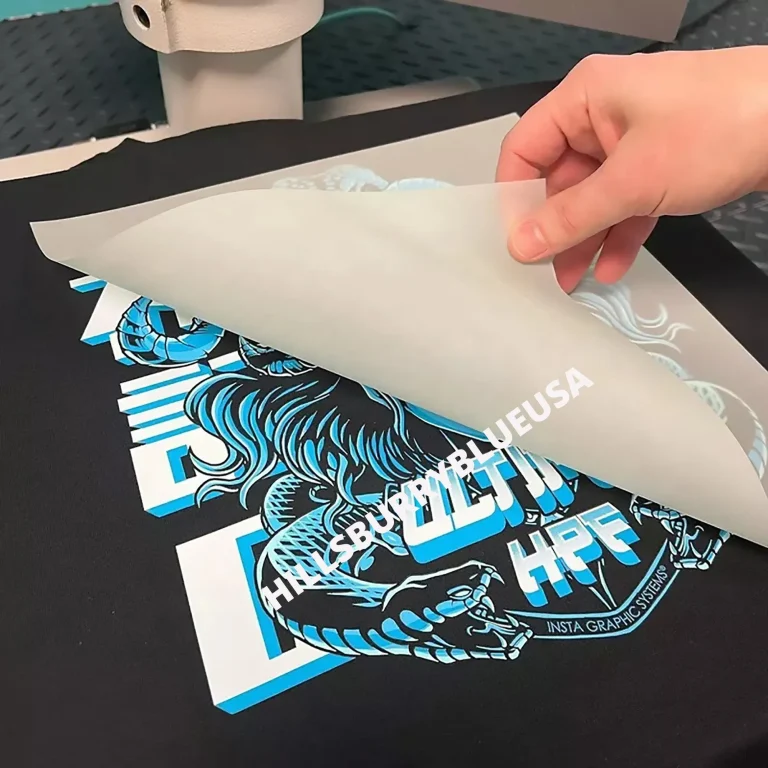
Careful pre-pressing, accurate placement, and proper peel method are critical for long-lasting results. We’ll cover how to pre-press to reduce moisture, how to position the transfer using tape or a ruler, and whether a cold peel or hot peel is required—important details echoed in the DTF transfers guide and applied to DIY t-shirt transfers projects.
Finish strong by curing and caring for your DTF-printed garments. After pressing, allow the design to cure, then wash on gentle cycles with cold or warm water. We also discuss troubleshooting tips if edges lift or colors fade, all framed within the broader context of DTF printing on fabric and the DIY t-shirt transfers workflow.
Frequently Asked Questions
What are DTF transfers and how does DTF printing on fabric support DIY t-shirt transfers?
DTF transfers are designs printed onto a film and then applied to fabric with heat and pressure. This approach delivers vibrant colors and sharp detail, enabling full-color artwork for a wide range of fabrics. It’s especially popular for DIY t-shirt transfers because the workflow is relatively straightforward and forgiving, making it accessible for crafters and small shops. Using DTF printing on fabric helps you achieve durable, washable results with great color versatility.
What settings and steps are recommended when using a heat press for DTF transfers according to the DTF transfers guide?
Start with common guidelines: temperature around 160–170°C (320–340°F), time about 12–15 seconds, and medium to firm pressure. Pre-press the garment to remove moisture, then position the transfer and cover with a Teflon sheet. Apply even pressure and avoid sliding during pressing. Some designs use a cold peel; others require a hot peel—follow the transfer sheet instructions. These best practices align with the DTF transfers guide and help ensure reliable results when using a heat press for DTF.
| Section | Key Points |
|---|---|
| What are DTF transfers? | Direct-to-Film transfers print designs onto a film that is heat-transferred to fabric. They enable vibrant colors, detailed artwork, and a relatively forgiving workflow, making it suitable for complex or multi-color designs on various fabrics. |
| Key advantages | Rich color depth and sharp detail; wide color gamut without per-design color separations; works on many fabrics (including dark fabrics with proper underlay); simple film-to-shirt workflow (print, heat press, peel); durable results when properly cured and finished. |
| What you’ll need | DTF transfers (printed film); heat press or reliable iron; Teflon/parchment sheets; clean surface; lint-free prep tools; tape; pre-washed garment; hard flat pressing surface; timer. |
| Choosing the right settings & garment prep | Temperature: ~160–170°C (320–340°F); Time: ~12–15 seconds; Pressure: medium to firm; Peel method: cold or hot as per transfer sheet; Pre-press garment to remove moisture and folds; position transfer securely. |
| Placement & sizing | Center design using natural landmarks; use grid/margin guides; plan complex layouts on paper; consider fabric color and underlay needs (white under-base for dark fabrics). |
| Step-by-step guide to applying |
|
| Quality checks & troubleshooting | Check color evenness, adhesion, and edge sealing; ensure correct under-base/top-coat usage; if edges lift or ghosting occurs, re-press with clean parchment; adjust heat/pressure on scrap fabric for calibration. |
| Care & maintenance | Turn garment inside-out for washing; use mild detergent; avoid bleach; do not iron directly over print; if needed, place cloth between iron and print; air-dry when possible to maximize longevity. |
| DTF transfers vs other methods | Compared with sublimation: broader fabric compatibility (including cotton blends and dark fabrics); with screen printing: often lower cost for small runs and faster changes; for large runs, DTG/screen may be cheaper, but DTF offers flexible multi-color designs without screens. |
| Common questions | Do DTF transfers work on dark fabrics? Yes with under-base or white layer. Can a household iron be used? For small projects, but a heat press gives even pressure for larger designs. How long do they last? With proper curing and care, they can endure many washes. |
Summary
Table summarizing key points of the base content.