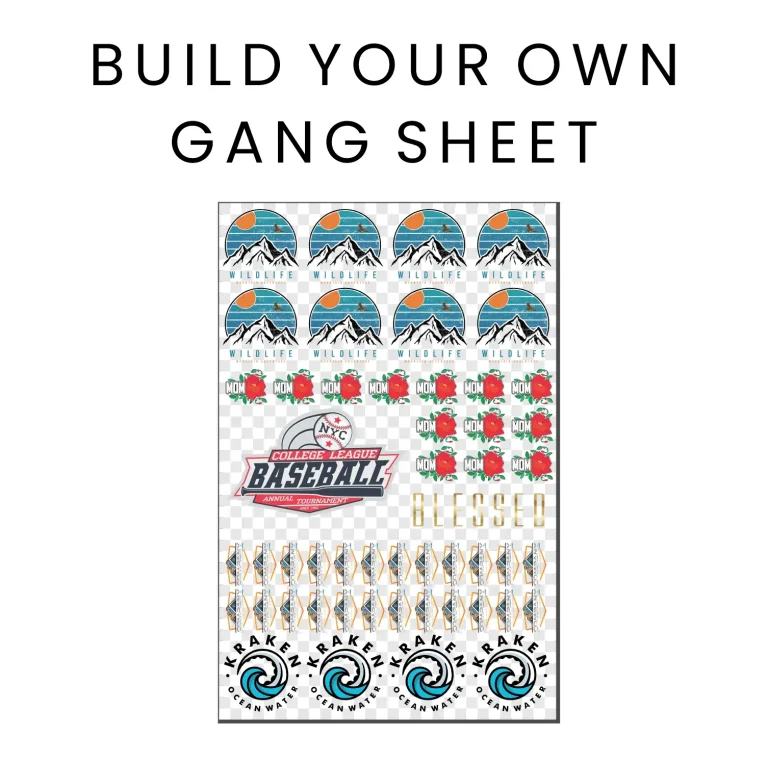
DTF Gangsheet Builder Mistakes and How to Fix Them
DTF Gangsheet Builder is your gateway to precise, efficient DTF printing, designed to align multiple designs on a single sheet with confidence, color accuracy, and scalable templates for small runs or big orders, and it integrates with popular RIPs, printers, and color management workflows. With careful color management, margins, and garment mapping, this tool helps reduce common gangsheet mistakes while improving sheet alignment across batches, departments, and production lines, covering prepress, production, and post-press inspection to ensure consistency across shifts. By standardizing the workflow, it supports DTF workflow optimization and printing quality and speeds up production without sacrificing accuracy, repeatability, or interoperability with your existing software ecosystem, and provides audit trails, version control, and centralized settings for teams. Users can spot and troubleshoot issues early, reducing waste and reprints through DTF troubleshooting steps, color calibration, test prints, and ongoing QA checks, while keeping detailed notes for future optimization. This article highlights how to optimize your setup for optimal sheet alignment, predictable colors, and reliable outputs across orders by outlining a repeatable, scalable process that can be tailored to diverse product lines, fabrics, and customer requirements.
Viewed through an SEO-friendly lens, this technology can be described as a sheet layout planner for transfer prints, or more broadly as a gangsheet creation system that coordinates artwork with garment templates across batches. It functions as a prepress optimizer, aligning blocks, margins, and color references so outputs stay consistent, whether you run a few designs or a full catalog. Some teams call it a transfer sheet layout tool, a print production planner, or a template-driven layout engine that handles spacing, scale, and alignment automatically. By using these alternative terms, you signal related concepts like color management, print efficiency, and error reduction, reinforcing the topic without relying on a single phrase.
DTF Gangsheet Builder: Mastering Sheet Alignment and DTF Workflow Optimization
Mastering the DTF Gangsheet Builder goes beyond simply placing designs on a page. It’s about coordinating multiple prints across a single sheet with precise sheet alignment, disciplined margins, and accurate garment mapping. When alignment and color management are executed consistently, production becomes predictable, waste drops, and output quality remains stable across orders. A well-constructed gangsheet acts as a blueprint for efficiency, helping teams reduce bottlenecks and maintain steady throughput in a busy DTF printing workflow.
To maximize results, start with a meticulously calibrated grid that matches your printer bed and transfer film. Regularly print test grids and verify alignment against physical marks on the transfer film, then lock in a color-managed workflow by embedding ICC profiles and converting assets to the printer’s color space before layout. By treating the gangsheet as a controlled system, you minimize color drift and misalignment, enabling repeatable, high-quality results for every run.
Avoiding Common Gangsheet Mistakes and DTF Workflow Troubleshooting
Common gangsheet mistakes in DTF printing often stem from rushing, neglecting sheet alignment, or ignoring safe zones and margins. When the grid is treated as a rough guide rather than a precise tool, designs can shift or crop, producing misaligned imagery or unwanted white edges on garments. Recognizing these gangsheet mistakes early allows you to implement checks that protect critical elements, preserve print integrity, and maintain customer satisfaction.
DTF troubleshooting becomes a strategic practice when you have a structured process. Implement digital soft proofs and physical checks on fabric to catch issues before production. Verify DPI at print size (ideally 300–600 DPI for raster elements), ensure proper bleed and safe zones, validate garment-size mapping, and keep templates up to date. By standardizing prepress proofs, color management, and substrate considerations, you reduce reprints, improve color consistency, and achieve reliable outcomes across diverse fabrics and product lines.
Frequently Asked Questions
What are the most common gangsheet mistakes in the DTF Gangsheet Builder, and how can I fix them to improve sheet alignment and print quality?
Common gangsheet mistakes in the DTF Gangsheet Builder include inadequate grid calibration and misalignment, neglecting bleed and safe zones, inconsistent color management, using low-resolution assets, incorrect scaling, skipping prepress checks, outdated templates, and failing to update templates when product catalogs change. To fix these issues and improve sheet alignment in DTF printing workflows, regularly calibrate the gangsheet grid to match the printer bed, print and verify a test grid, apply consistent bleed and safe zones, embed ICC profiles and convert artwork to the printer’s color space, use vector artwork or 300–600 DPI rasters, scale artwork before placing items on the gangsheet, run digital soft proofs and physical proofs when possible, maintain version-controlled templates, update templates with catalog changes, note substrate characteristics and adjust transfer films as needed, and run a final check before production. These steps support DTF workflow optimization and reduce troubleshooting during production.
How can the DTF Gangsheet Builder enhance workflow optimization to ensure consistent sheet alignment, color accuracy, and garment mapping across orders?
To optimize your workflow with the DTF Gangsheet Builder and minimize sheet alignment issues and color problems, implement an SOP for gangsheet creation that covers grid calibration, bleed settings, and color management; perform test prints and proofs for every batch; calibrate the printer and align the gangsheet grid with bed marks; use a single, embedded color profile across all designs and convert colors to the printer’s working space; design with safe margins and bleed; use high-quality assets at 300–600 DPI; maintain up-to-date templates with version control; map designs to garments using a garment size library; document all settings and outcomes in a changelog; and leverage automation for repetitive tasks when available. This approach improves DTF printing reliability, reduces gangsheet mistakes, and supports continuous DTF workflow optimization, making troubleshooting easier.
| Topic | Key Point | Why It Matters | How to Ensure / Recommendations |
|---|---|---|---|
| Grid calibration and alignment | Keep the gangsheet grid precisely aligned with the printer bed; misalignment causes crooked designs and misprints. | Misalignments translate to wasted material, reprints, and inconsistent output across garments. | Regularly print a test grid, ensure software output matches bed coordinates, and verify alignment against physical marks. |
| Bleed, safe zones, and margins | Bleed allows edge-to-edge designs; safe zones prevent important elements from clipping. | Edge clipping and white margins look unprofessional and can ruin complex images or text. | Set consistent bleed values, define safe margins for each design block, and verify margins on gangsheet and fabric. |
| Color management and ICC profiles | Use a single color-managed workflow; embed ICC profiles and convert to printer color space before layout. | Inconsistent colors across batches erode brand reliability and require reprints. | Embed ICC profiles in all artwork, convert to the printer’s color space, and print a color calibration strip with every run. |
| DPI and asset quality | Prefer vector artwork; rasterize at 300–600 DPI for each design at print size; avoid in-app upscaling. | Low-resolution assets cause pixelation and blurred details on fabric. | Source vector artwork when possible, rasterize at 300–600 DPI at print size, and scale before placing items on the gangsheet. |
| Scaling and garment size mapping | Maintain a unit-per-design-block mapping to standard garment sizes; test print on representative samples. | Mismatches lead to awkward placement and wasted material. | Create a reliable mapping system, keep garment templates, and test print on representative samples. |
| Prepress checks and proofs | Always generate digital soft proofs and, if possible, physical proofs on actual fabric and heat press settings. | Skipping proofs hides issues until after pressing, wasting time and material. | Use digital soft proofs, and print a physical sample when feasible to catch misalignment and color issues early. |
| Templates and version control | Establish version-controlled, up-to-date gangsheet templates for different product lines. | Using outdated templates leads to unpredictable results and troubleshooting challenges. | Keep a centralized template library with clear versioning and notes on changes. |
| Catalog changes and updates | Update gangsheet templates when product catalogs change; re-run alignment checks. | Discrepancies between artwork and fabric increase misfits and rejects. | Implement a change-management process: update templates, re-check alignment, validate with a sample batch. |
| Substrate and transfer film considerations | Note fabric types, transfer films, and adjust gangsheet design and settings accordingly. | Substrate differences can cause color shifts, adhesion issues, or ghosting. | Record substrate characteristics, select appropriate transfer films, and tailor settings per fabric type. |
| Final checks and avoiding rush | Implement a final batch checklist: grid alignment, bleed, margins, color accuracy, garment mapping, and first-unit inspection. | Rushing production increases waste and damages customer trust. | Use a disciplined finish process, run a test print, and inspect the first few units on press. |
| Best practices for a reliable workflow | Standardize processes, SOPs, calibration, color management, margins, DPI, templates, mapping, documentation, and automation. | Without a structured approach, errors proliferate and efficiency suffers. | Adopt an SOP, test prints, calibration routine, consistent color workflow, and centralized templates with change logs; leverage automation where possible. |
Summary
HTML table created summarizing key points from the base content.